Installing the software
Introduction
SN VPN Client Exclusive is installed by executing the program that can be downloaded from MyStormshield.
The default installation procedure, run by double-clicking the icon of the downloaded program, opens a window that allows you to customize the installation.
The installation of the software can be customized using a set of command-line options and VPN configuration files. These options and features are detailed in the “Deployment Guide”.
Refer to section Installation procedure.
Minimum requirements
SN VPN Client Exclusive is available for Windows 10 and 11 64 bit.
The minimum system requirements to install the software are as follows:
-
Processor: 1 GHz or faster processor
-
RAM: 2 GB
-
Hard disk space available: 40 MB
When the software is not installed from an administrator account, a window opens, prompting you for the username and password of an administrator account on the machine.
Digital signature and version
The installer software for SN VPN Client Exclusive is signed with a certificate issued for THEGREENBOW SA. This allows the person performing the installation or the user to verify the integrity of the installation program.
You can verify the authenticity of the software by displaying the program’s properties (right-click MSI installer) and then selecting the Digital signatures tab.

Users can check the version number of SN VPN Client Exclusive in the About… window of the software.
Installation procedure
Once you have downloaded the SN VPN Client Exclusive installation program and verified its authenticity (see section Digital signature and version above), you can proceed with its installation by following the steps described below.
The installation procedure is the same whether it is an initial installation or an update (see chapter Updating the software). When performing an update, the software settings, the existing VPN configuration, and the license are preserved. In some cases, see section Updating the VPN configuration.
IMPORTANT
You can only update the software if your subscription is still valid (see section How to get an update).
NOTE
If you want to perform a silent installation, pass specific parameters during installation or perform a large-scale deployment, refer to the "Deployment Guide".
-
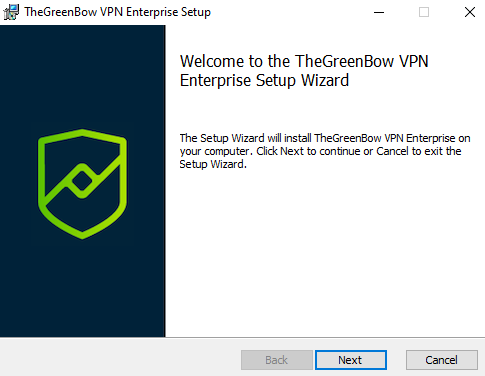
Double-click the installation program you downloaded. The following window is displayed:
-
Click on Next. The following window is displayed:
-
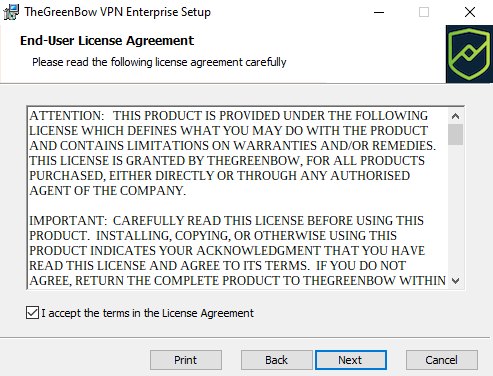
Read the End User License Agreement (EULA) carefully. If you accept all the terms of the agreement, select the I accept the terms of the license agreement checkbox, and then click Next. Otherwise, you will not be able to continue installing SN VPN Client Exclusive. The following window is displayed:
-
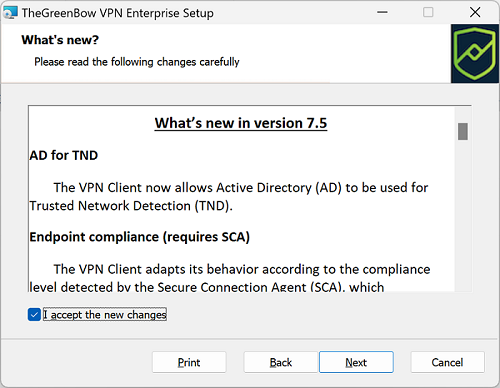
Carefully read the information about what’s new and the note about how the existing VPN configuration will be converted during an update.
IMPORTANT
Once the installation is complete, you will not be able to revert to an earlier version of the software without manual intervention. If in doubt, back up your VPN configuration to a separate folder or to a removable storage medium.If you accept all the terms of the agreement, select the I accept the new changes checkbox, and then click Next. The following window is displayed:
-
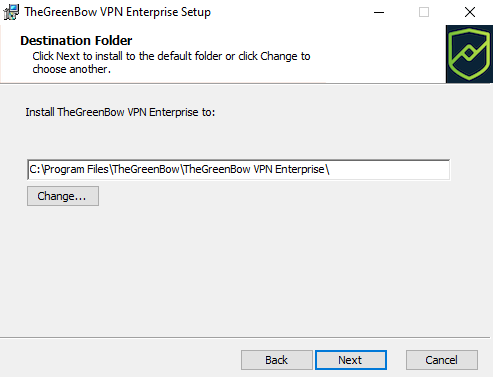
If you want to install SN VPN Client Exclusive in a specific directory, click Change… and select the desired directory. Otherwise, you can keep the default directory. Then, click on Next. The following window is displayed:
-
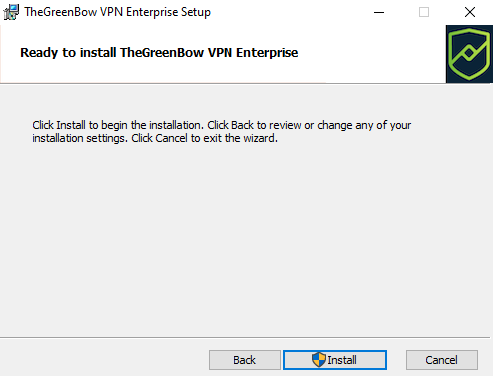
The program is ready to install. If you want to go back to check or change your installation settings, click Back. Otherwise, click Install. If you are installing from an account that does not have administrator rights, the following window is displayed:
-
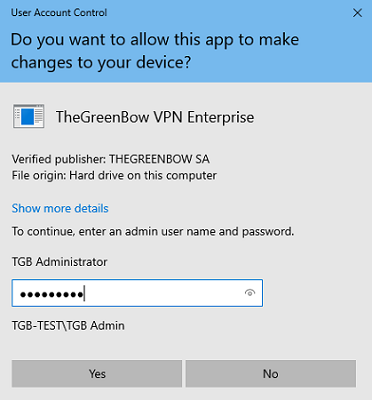
To proceed with the installation, you must enter an administrator name and password to allow the installation program to make changes to your computer. Otherwise, the software will not be installed.
If you are installing from an administrator account, you do not need to enter a password. Simply confirm that you allow the app to make changes to your device.
-
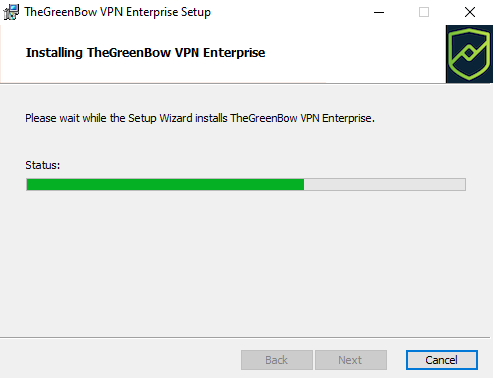
Installation begins and the following window is displayed:
-
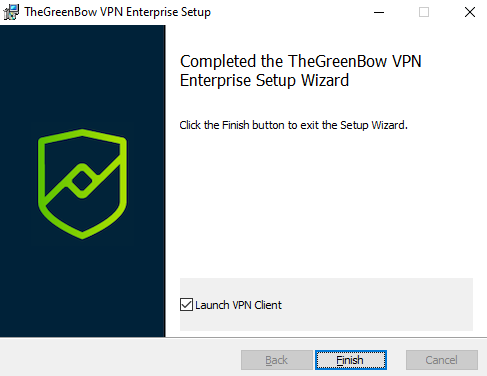
Wait for the installation of the SN VPN Client Exclusive including all its components to complete. If installation has succeeded, the following window is displayed:
-
If you do not want to launch SN VPN Client Exclusive immediately, uncheck the corresponding box. To exit the setup wizard, click Finish.
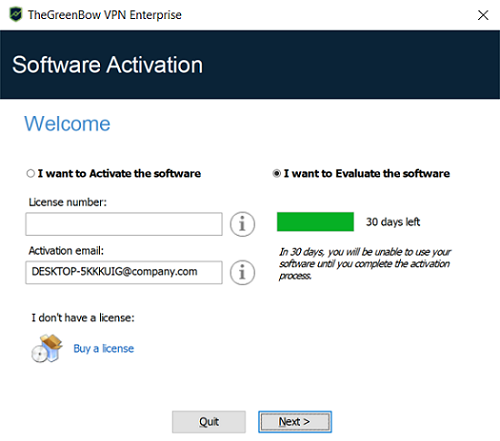
Otherwise, the activation screen is displayed:
-
SN VPN Client Exclusive is now installed on your workstation.
If you already own a license for SN VPN Client Exclusive:
-
Select I want to Activate the software,
-
Enter the license number and activation e-mail,
-
Then, click Next >
For further details on the activation procedure, refer to chapter Activating the software.
If you want to try SN VPN Client Exclusive:
-
Select I want to Evaluate the software
-
Then, click Next >
You will then be able to use the software for a 30-day trial period. For further details on the trial period, refer to section Trial period.
You are now ready to use the software. You can continue with the following steps:
-
To start using SN VPN Client Exclusive immediately, refer to chapter Getting started with the software.
-
To use the Configuration Wizard to quickly create a VPN connection, refer to chapter Configuration Wizard.
-
To import a VPN configuration compatible with this version of the software, refer to section Importing a VPN configuration.
-
For a detailed presentation of the available interfaces, refer to chapters Connection Panel, Configuration Panel and TrustedConnect Panel.
-
For a comprehensive explanation of all VPN tunnel configuration options, refer to chapter Configuring a VPN tunnel.
-
To uninstall SN VPN Client Exclusive, refer to chapter Uninstalling the software.
Canceling installation
If you cancel the setup wizard before clicking the “Install” button, the following window is displayed:
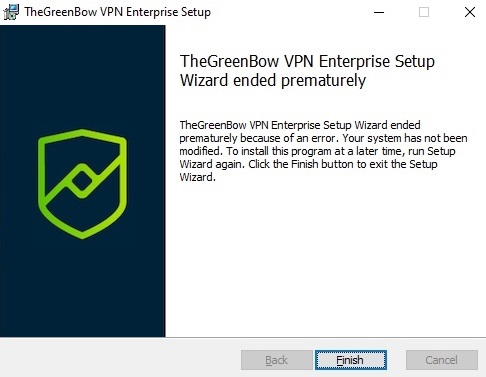
Your system has not been modified and you can resume installation at a later time.
Trial period
The first time the software is installed on a workstation, if no license key is provided to the installer, the VPN Client will enter a 30-day trial period. During this trial period, the VPN Client is fully operational, and all functions are unlocked.
The activation window will be displayed every time the software is started during the trial period. It shows the number of days remaining in the trial period.
Select I want to evaluate the software, then click on Next > to run the software.
During the trial period, the About… window will display the number of days remaining until the trial ends.

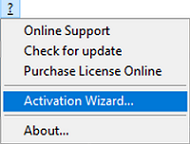
During the trial period, the activation window can be accessed at any time using the ? > Activation Wizard menu item in the main interface (Configuration Panel).
Configuring Windows
Once you have completed installation, you need to make sure that a Windows sign-in option is disabled.
NOTE
This option is not available (Windows 10) or grayed out (Windows 11) if your workstation is joined to a domain, or if your organization has applied work or e-mail policies to your workstation.
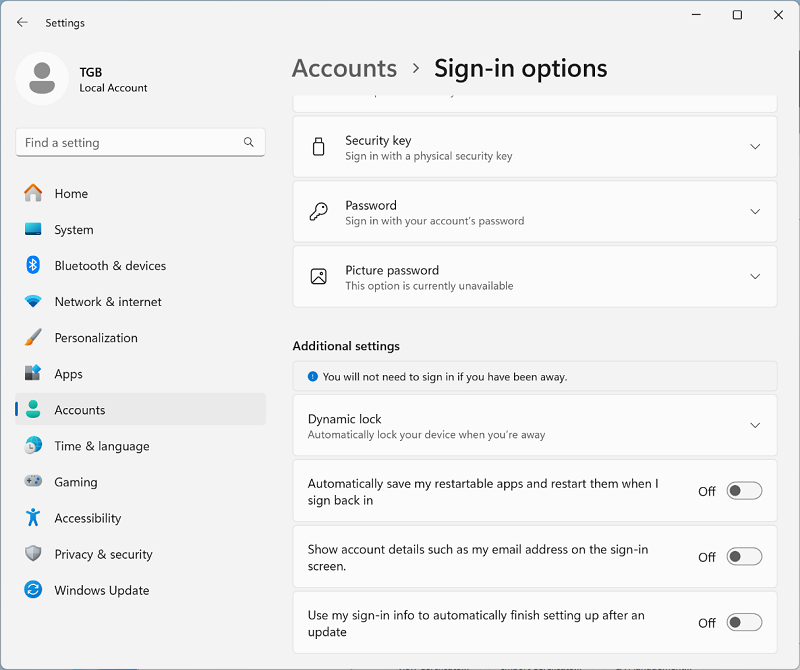
Windows 11
In Windows 11, select Start, and then Settings > Accounts > Sign-in options and under Additional settings disable Use my sign-in info to automatically finish setting up after an update, as shown in the screenshot below:
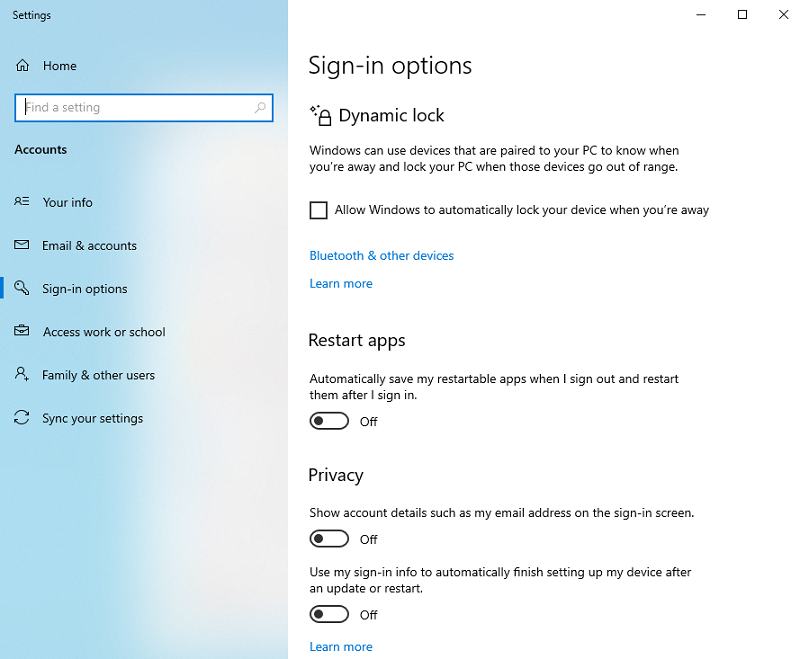
Windows 10
In Windows 10, select Start, and then Settings > Accounts > Sign-in options and under Privacy disable Use my sign-in info to automatically finish setting up my device after an update or restart, as shown in the screenshot below: