Deploying the installation file in a virtual environment
The procedures in this chapter relate to the VMWare and XenServer platforms. You must adapt them if you are using another virtual environment. Please be reminded that technical requirements are listed in the chapter Technical requirements and operation.
Deploying on a VMware platform
- Open the vSphere client from your administration workstation.
- Enter the login parameters for vCenter Server (IP address/Name, User name and Password).
- Click on Connect.
- Click on File > Deploy OVF model....
- Click on Browse, select the .ova installation file downloaded earlier, then click on Next.
- Read and accept the conditions of use, then click on Next.
- Select the location of the inventory in which the virtual machine will be installed and click on Next.
- Select the host/cluster that will host the virtual machine, and click on Next.
- Select the storage location and click on Next.
- Confirm the disk format by clicking on Next.
- Select the network used by each interface of the virtual machine, and click on Next.
- Fill in the form with the firewall's base configuration. This step is optional if you are deploying a SNS PAYG virtual firewall
- Global configuration:
- Customer ID: optional client identifier. Leave this field empty at this stage. You can fill it in later when you deploy SNS virtual firewalls if you wish to associate them with a particular client.
- Hostname: firewall's name,
- Password: enter, then confirm the password of the firewall's administrator account. Choose a complex password that follows the recommendations given by organizations such as the ANSSI (in French).
- Network interface 1 (out):
- Gateway: IP address of the firewall's default gateway. Leave this empty if DHCP is used,
- IP address 1: IP address of the firewall’s first network address. Select DHCP if addresses are dynamically assigned,
- Netmask 1: network mask. Leave this empty if DHCP is used.
- Network interface 2 (in):
- IP address 2: IP address of the firewall’s second network address. Select DHCP if addresses are dynamically assigned,
- Netmask 2: network mask. Leave this empty if DHCP is used.
- Global configuration:
- Click on Next.
- Check the information in the summary and click on Finish.
Your SNS virtual firewall will automatically start deploying.
Once this is done, continue to the chapter Activating the SNS EVA virtual firewall.
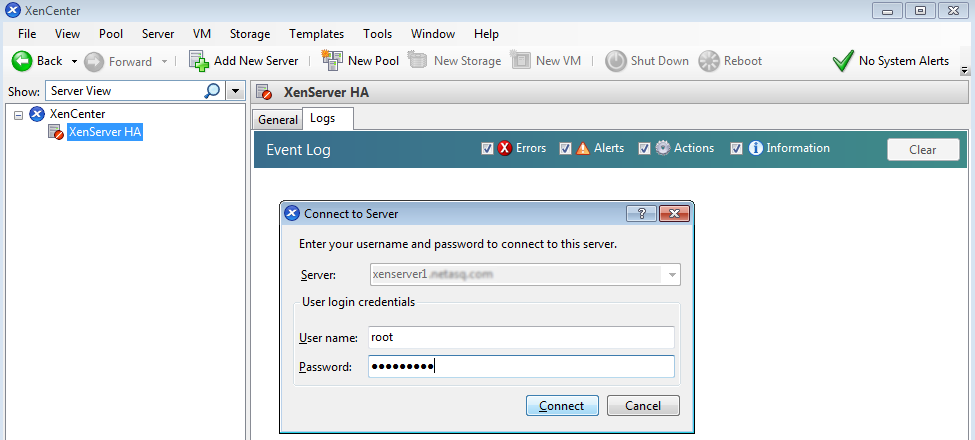
Deploying on a XenServer platform
- Open XenCenter from your administration workstation.
- Enter the login parameters for XenServer:
- IP address/Name,
- User name,
- Password.
- Click on File > Import.
- Click on Browse and select the .ova installation file downloaded earlier.
- Read and accept the conditions of use.
- Complete the steps for the installation on Xenserver.
Once this is done, continue to the chapter Configuring the SNS EVA virtual firewall.