Connecting a firewall already in production to the server
The three following steps are required to connect a firewall already in production to the SMC server:
- In the SMC server web interface, select Monitoring > Firewalls and click Create a firewall.
- Complete the firewall properties. The Description and Location fields are just filled in for information and do not have any impact on the configuration.
-
For more information on the VPN contact address, refer to the section Defining the contact IP address of firewalls for VPN topologies.
- For more information on the VPN output interface, refer to the section Selecting the output interface of firewalls for VPN topologies.
- Select the folder in which you wish to organize the firewall. Folders are created in the Configuration > Firewalls and folders menu on the left. For more information, please refer to the section Organizing firewalls by folders. You need to hold write access privileges on the folder. For more information, refer to the section Restricting folder administrators' access privileges.
- In the same window, select Generate the connecting package to generate the package while adding the new firewall. This connecting package will have to be installed on the firewall to connect to the SMC server.
TIP
You can build the package later, by editing the firewall in the Firewalls menu. - Click on Create.
- In the Generating the connecting package panel, click on Next then select This firewall is already in production.
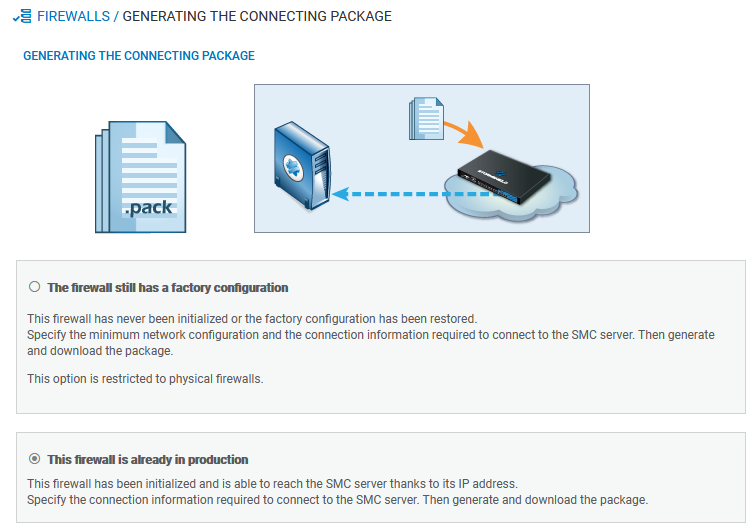
- On next panel, select the version of the firewall. Verify and edit the information to connect to the SMC server if needed. The panel varies according to the version of the firewall. In 3.9.0 and higher versions:
- IP address or FQDN: the firewall connects using these addresses to contact the SMC server. Depending on network topology, they can either be the SMC server's IP addresses or external IP addresses that the firewall can reach, and which are redirected to the SMC server through destination translation. You can set up to ten addresses or FQDNs to contact the SMC server, by order of priority. The firewall browses the addresses from 1 to 10 and connects to the SMC server through the first address reachable. If the address currently used has not the highest priority, the firewall regularly tries to reach an address with greatest priority.
- Port: depending on network topology, they can either be the SMC server's ports (1754 by default) or external ports that the firewall can reach, and which are redirected to the SMC server's port through destination translation.
- Local address: you can specify a different outgoing interface for each contact address.
- For firewalls in version 3.7.X to 3.8.X, only one outgoing interface can be specified, and which will apply for all contact addresses.
- Click on Generate and download.
IMPORTANT
As a package connects a single firewall to SMC, it must not be reused.
IMPORTANT
The connecting package makes it possible to establish a connection from the firewall to the SMC server. Share this package only with users who have been made aware of security. Such packages must only be shared through secure channels (encrypted e-mails, secured USB keys, etc.) between SMC and SNS firewalls.
- Provide the connecting package to the administrator in charge of managing the firewall on the remote site.
- Ensure the administrator connects to the web administration interface of the firewall.
- In the Configuration > System > Management Center menu of the firewall administration interface, ensure that the administrator selects the connecting package. After the package has been installed, the administrator can see the SMC server connection settings in the same menu. They are also displayed in the SMC dashboard component.
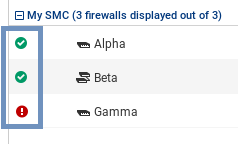
- In the SMC server web interface, verify that the state of the firewall changes in the Firewalls menu. It must be "On line".