Getting started
Welcome to the SSL VPN administration guide for Stormshield SNS firewalls and SSL VPN clients.
In this guide, Stormshield Network Security is referred to as "SNS firewall".
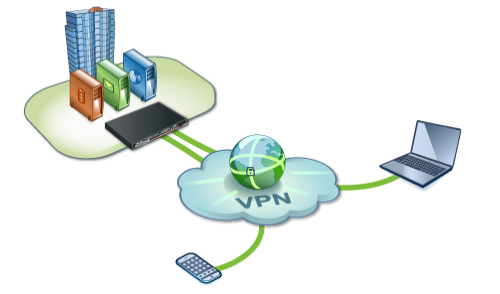
SSL VPN allows remote users to securely access an organization's resources - internal or otherwise - via the SNS firewall. An SSL VPN client must be installed on the user’s workstation and/or mobile device before they can set up SSL VPN tunnels with the SNS firewall.
Once the SSL VPN tunnel has been set up, communications between the user and the SNS firewall are encapsulated and protected through an encrypted TLS tunnel, referred to in this guide as an "SSL VPN tunnel".
This guide explains:
-
The configuration to apply in the Authentication, Access privileges and Filter - NAT modules on the SNS firewall in order to deploy SSL VPN tunnels,
-
How to enable and configure the SSL VPN service on the SNS firewall,
-
How to configure the client workstation verification feature when zero trust network access (ZTNA) is used,
-
How to track users who are connected to the SNS firewall through an SSL VPN.
| Date | Description |
|---|---|
| April 20, 2026 |
- Contents of the "Configuring strong authentication: TOTP, SSL certificates or OIDC" section enriched |
| December 29, 2025 |
- Contents of the "Configuring multifactor authentication (TOTP)" section enriched - New section "Using OIDC authentication" added - Contents of the section "Configuring client workstation verification (ZTNA)" enriched |
| October 22, 2025 | - New document |