Enabling password protection in the UEFI control panel
This section explains how to enable password protection on SNS firewalls' UEFI control panel.
The images below show BIOS on SN-S-Series model firewalls. As such, the display may vary depending on the model used, but the process remains the same.
-
Connect the computer to the SNS firewall using an appropriate cable, and log in with your terminal emulator in console mode;
- or -
Connect a USB keyboard and a monitor to the SNS firewall using an appropriate cable.
-
In the console, authenticate by using the admin account on the SNS firewall system.
-
Run this command to restart the SNS firewall:
reboot
-
Once the SNS firewall starts up, press [Del] several times to stop its startup sequence, and access BIOS.
-
In the Security tab, select Administrator Password or Setup Administrator Password, depending on your SNS firewall model, and press [Enter].
-
In the Create New Password window, enter a password, and press [Enter].
-
In the Confirm New Password window, confirm the password, and press [Enter].
IMPORTANT
Keep the password in a safe and protected location. If you misplace your password, Stormshield will not be able to recover it, and you will no longer be able to update the SNS firewall's UEFI.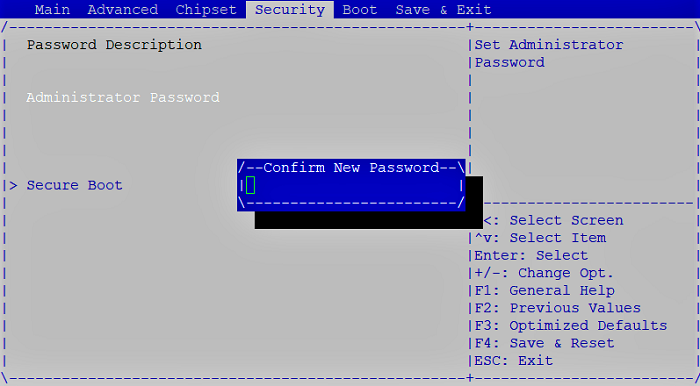
-
Press [Esc] to go back to the previous window.
-
In the Save & Exit tab, select Save Changes and Reset, and press [Enter].
-
In the Save & Reset window, select Yes, and press [Enter].