Using OIDC authentication
This section explains how to configure OIDC authentication, which is based on the OpenID Connect (OIDC) authorization protocol, to set up SSL VPN tunnels with the SNS firewall.
Introduction
With OIDC authentication, you can connect your SNS firewall to an identity provider (IdP), such as Microsoft Entra ID. This will enable your users to authenticate using their accounts with your IdP, which will notably allow them to set up SSL VPN tunnels.
Requirements
- An SNS firewall in version 5.0.1 or higher.
- Stormshield SSL VPN clients in version 5.1.1 or higher. Do note that third-party SSL VPN clients, such as OpenVPN Connect, are not compatible.
- OIDC method configured in Authentication > Available methods on the SNS firewall, and your IdP configured. For more information, refer to the technical note Configuring OIDC/Microsoft Entra ID authentication.
Setting up SSL VPN tunnels using OIDC authentication
In the Saved connections menu
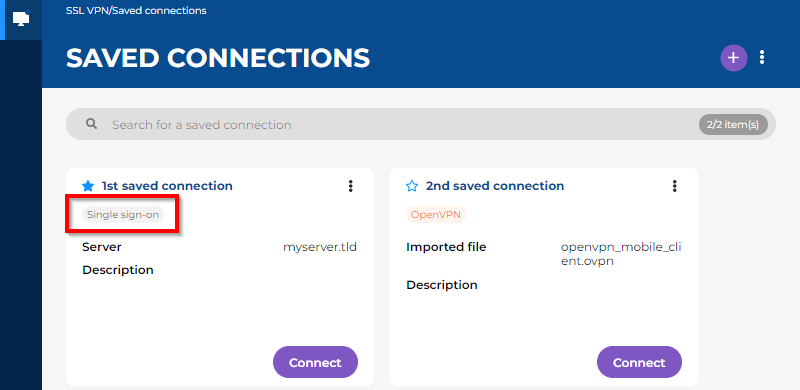
You must first select Stormshield mode and the checkbox Connect with single sign-on in the details of the saved connection.
In a saved connection, the label "Single sign-on" is an indication that the checkbox Connect with single sign-on was selected.
-
Click on Connect in the section of the connection in question.
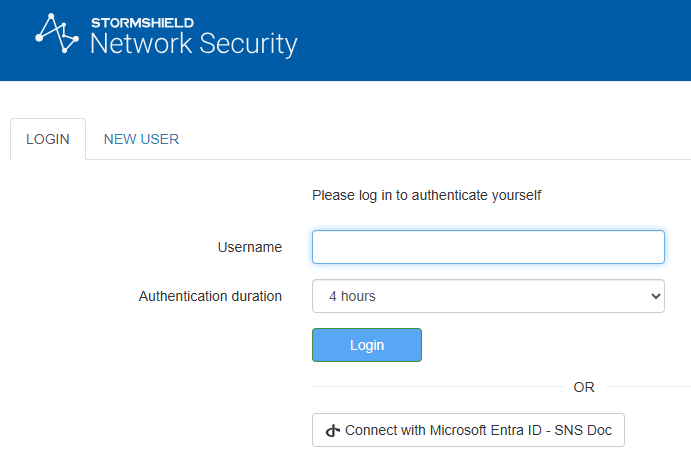
A page will open automatically in your web browser. Depending on the configuration of your SNS firewall, this page may be:
- Your IdP's authentication portal, or
- The SNS firewall's captive portal. If this is the case, click on the button corresponding to your IdP to be redirected to its authentication portal.
-
On your IdP's authentication portal, follow the steps in the authentication process.
-
Wait while the Stormshield SSL VPN client sets up the SSL VPN tunnel.
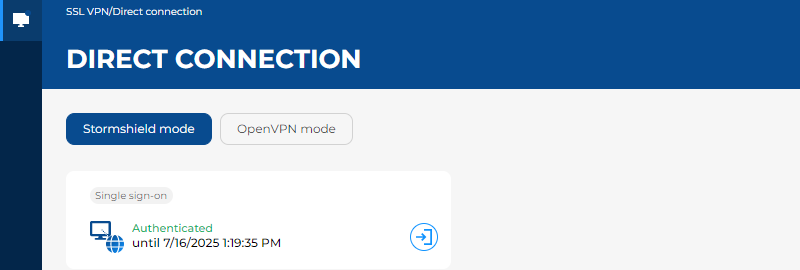
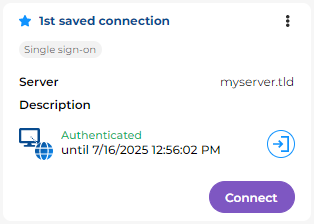
Once the SSL VPN tunnel has been set up, the expiry date of your authentication session appears. As long as the expiry date remains in the future, you can set up the SSL VPN tunnel without having to authenticate again.
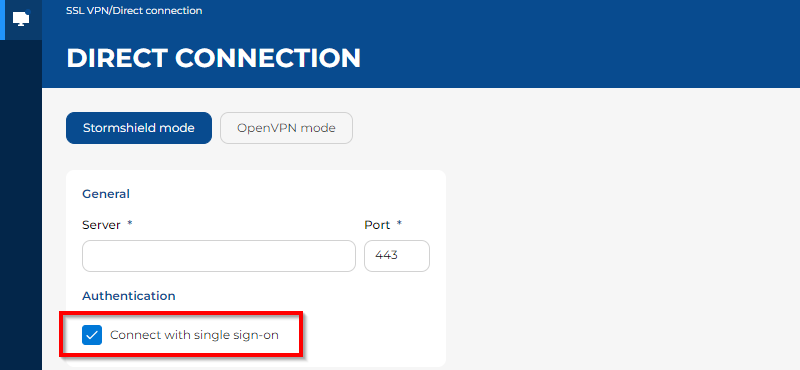
In the Direct connection menu
- Select Stormshield mode.
-
Select the checkbox Connect with single sign-on.
-
Click on Connect.
A page will open automatically in your web browser. Depending on the configuration of your SNS firewall, this page may be:
- Your IdP's authentication portal, or
- The SNS firewall's captive portal. If this is the case, click on the button corresponding to your IdP to be redirected to its authentication portal.
-
On your IdP's authentication portal, follow the steps in the authentication process.
-
Wait while the Stormshield SSL VPN client sets up the SSL VPN tunnel.
Once the SSL VPN tunnel has been set up, the expiry date of your authentication session appears. As long as the expiry date remains in the future, you can set up the SSL VPN tunnel without having to authenticate again.