SN-M-Series-520
Enabling password protection in the UEFI control panel
-
Connect a computer to the SNS firewall using a USB-A to USB-C cable.
-
Open the terminal emulator and enter the serial port and baud rate (115200).
-
Start or restart the SNS firewall and immediately press [Del] several times to stop the SNS firewall startup sequence.
-
Go to the Security tab by using the arrow keys.
-
Select Administrator Password and press [Enter].
-
In the Create New Password window, enter a password of your choice and press [Enter].
-
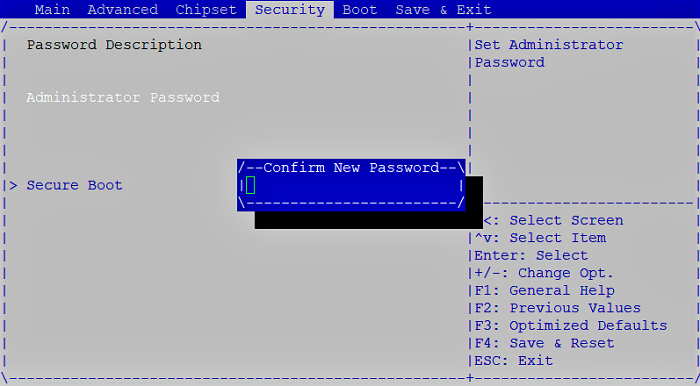
In the Confirm New Password window, confirm the password and press [Enter].
IMPORTANT
The password you set must be kept in a safe and protected location. If you misplace your password, you will no longer be able to update your SNS firewall's UEFI. Stormshield will not be able to help you recover this password.
-
Press [Esc] and go to the Save & Exit tab.
-
Select Save Changes and Reset and press [Enter].
-
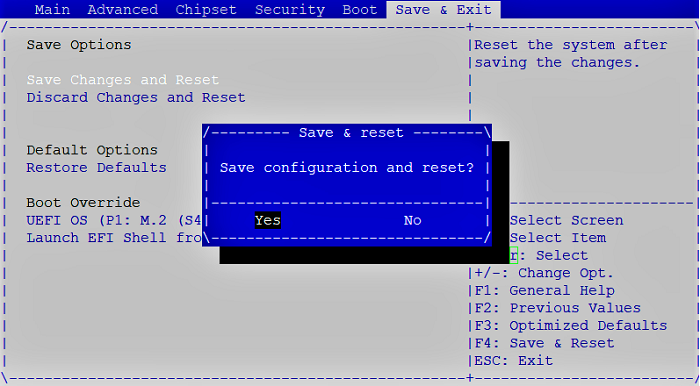
In the Save & Reset window, select Yes then press [Enter].

Disabling password protection in the UEFI control panel
-
Connect a computer to the SNS firewall using a USB-A to USB-C cable.
-
Open a terminal emulator and enter the serial port and baud rate (115200).
-
Start or restart the SNS firewall and immediately press [Del] several times to stop the SNS firewall startup sequence.
-
Enter the password to access the UEFI control panel.
-
Go to the Security tab by using the arrow keys.
-
Select Administrator Password and press [Enter].
-
In the Enter Current Password window, enter the current password and press [Enter].
-
In the Create New Password window, leave the field empty and press [Enter].
-
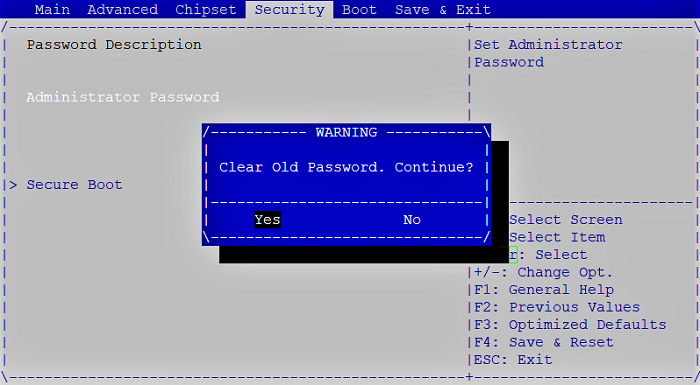
In the WARNING window, select Yes then press [Enter].

-
Press [Esc] and go to the Save & Exit tab.
-
Select Save Changes and Reset and press [Enter].
-
In the Save & Reset window, select Yes then press [Enter].
