SNi50
Dismantling
-
Unscrew the 6 black countersunk screws located at the front of the product.
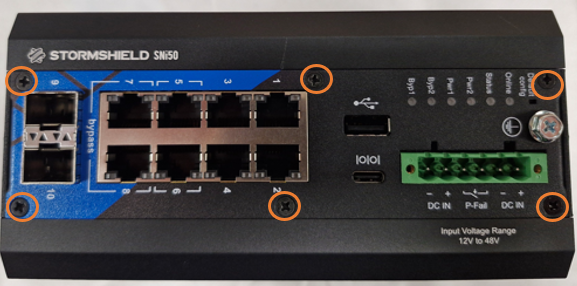
-
Unscrew the 5 black countersunk screws that hold down the top cover of the product.
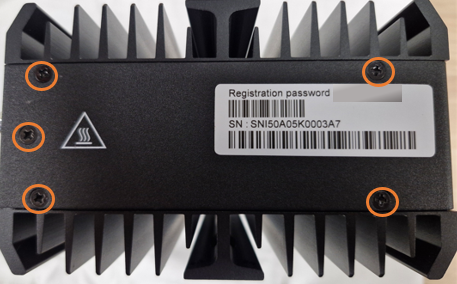
-
Unscrew the 5 black countersunk screws on the underside of the product.
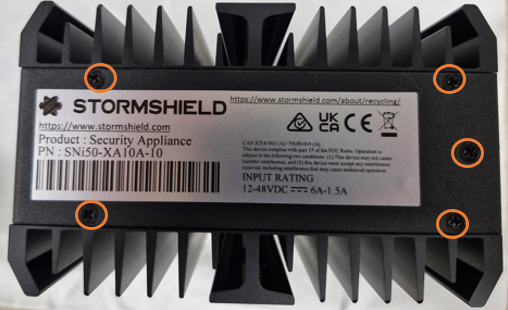
-
If there is a DIN rail bracket, remove 3 of the screws that hold it in place.
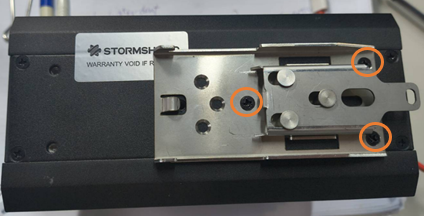
-
Unscrew the 6 black screws on the underside of the product.
This operation will tear the warranty sticker.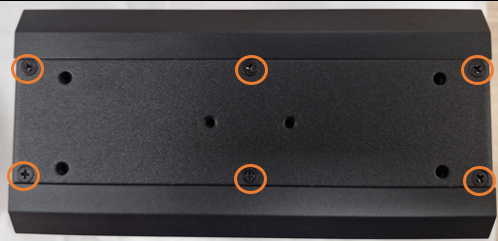
-
Slide the central section to remove the cover.
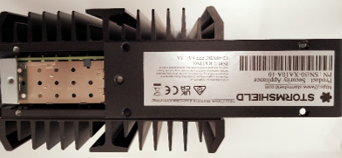
-
Gently lift up one side of the SNi50 firewall to separate both parts. Be careful to avoid damaging the connectors located on the rear panel.
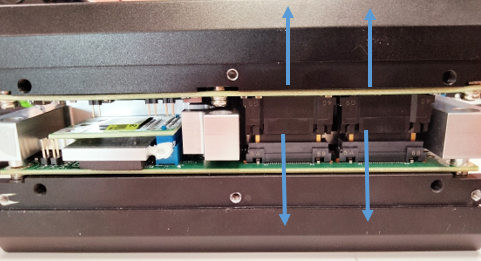
-
Locate the storage module (eMMC) and TPM (Trusted Platform Module).
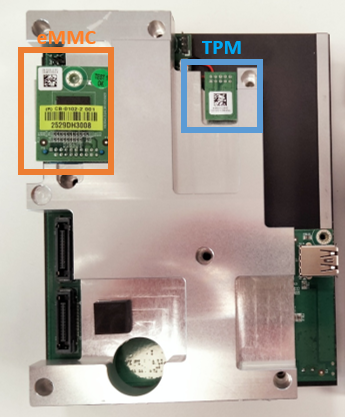
- Remove the screw that holds the eMMC in place, and extract it.
- Extract the TPM (Trusted Platform Module) by pulling it gently.
-
Remove the 7 screws from the metal plate, as well as the screw on the motherboard.
Gently lift the metal plate, followed by the motherboard.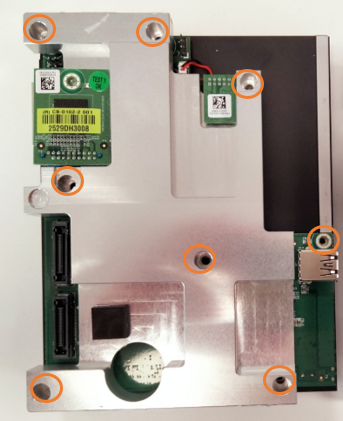
-
Pull gently on the top part of the connector to unplug the battery from the motherboard.
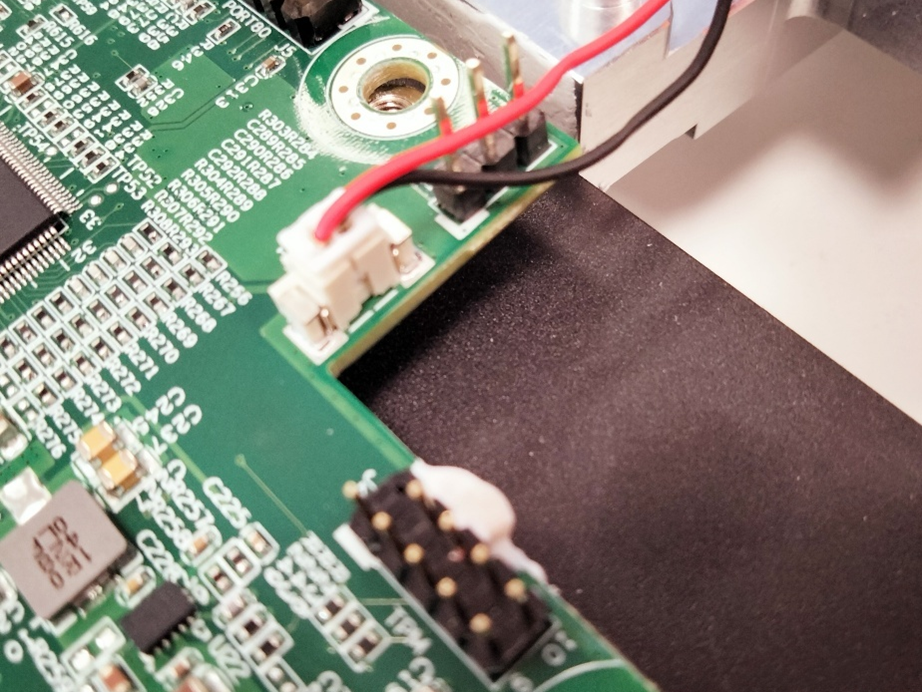
- Turn over the motherboard.
-
Locate the SSD, and remove the screw that holds it in place.
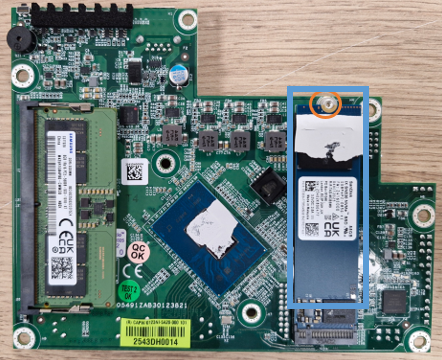
- Extract and take out the SSD.
Assembly
Re-assemble the product by following the same steps to dismantle it, in reverse order.