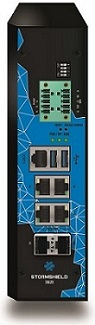
SNi20
Dismantling
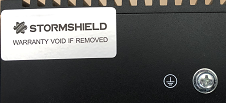
- Remove the warranty sticker:
- Unscrew the 2 black screws that hold the DIN rail bracket in place:
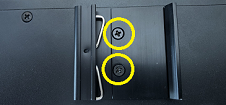
- Remove the bracket.
- Unscrew the 14 black screws found on the appliance.
- Open the appliance.
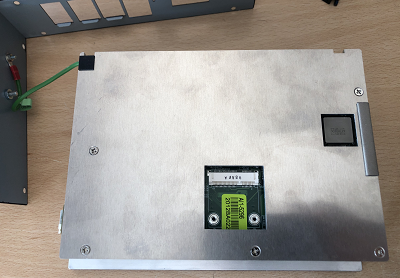
- Unplug the SATADOM:

- Unscrew the 5 silver fastening screws from the metal plate.
- Take off the metal plate:
- Unscrew the 5 gold-colored spacers with a 5mm hex socket:
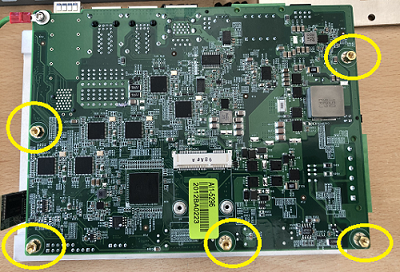
- Remove the motherboard by pulling gently and vertically.
- Unscrew the 2 silver screws and the 5 gold-colored spacers with a 5mm hex socket:
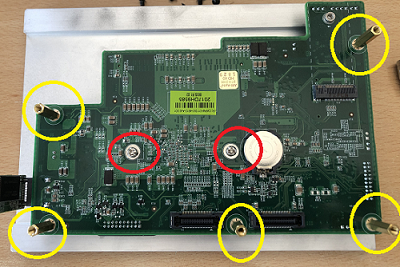
- Remove the second part of the motherboard by pulling gently and vertically.
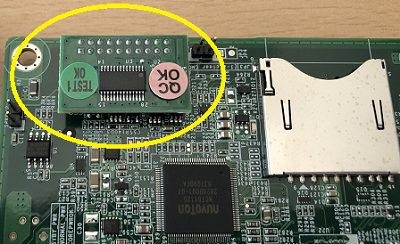
- Remove the TPM (Trusted Platform Module) by pulling gently and vertically:
Assembling
Re-assemble the product by following the same steps to dismantle it, in reverse order.