SN6000
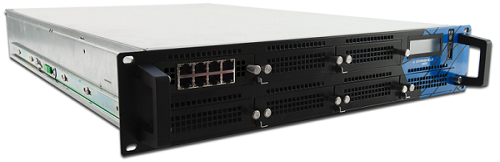
On this product, data is stored on 2 SSDs accessible from the rear panel.
Each SSD can be easily extracted: to unlock its tray, press on the lever while pushing it laterally towards the right.
Other data is stored on an internal SSD.
Dismantling
- Unscrew the 4 fastening screws from the cover of the chassis with a Philips screwdriver:
- 2 lateral countersunk screws on the rear of the product.
- 2 pan head machine screws on the rear panel.
- Open up the appliance by pushing the cover towards the back.
This operation will tear the warranty sticker: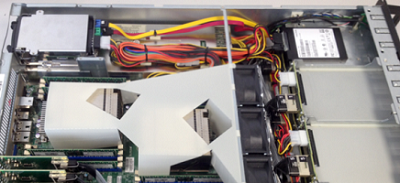
- Locate the SSD:
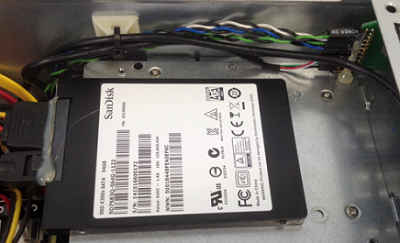
- Remove the adhesive strip from the power and data connectors on the SSD.
- Unplug these connectors.
- The SSD is mounted on a metal plate, fastened by 4 countersunk screws: remove these 4 screws.
- Lightly lift the back of the metal plate, and pressing against the front part of the SSD, extract the whole setup by pushing towards the back of the chassis.
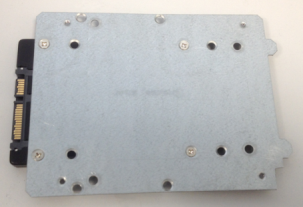
- Extract the SSD by removing the 4 countersunk screws under the SSD:
Assembling
- Place the metal plate back into its notches:

- Push it towards the front of the chassis.
- Fasten it using the 4 screws.
- Ensure that the 4 fastening screws of the SSD remain outside the chassis.
- Put the cover back in place and push it forward.
- Close the chassis back up using the 4 screws.