Creating the IPsec tunnel
On each firewall that is part of the GRETAP tunnel, in Configuration > VPN > IPsec VPN > Encryption policy – Tunnels tab:
- Click on Add.
- Select Site-to-site tunnel.
- For the Local network field: select the physical interface that hosts the GRE tunnel (Firewall_out in the example).
- For the Remote network field: select an object bearing the public IP address of the remote firewall (Remote_FW in the example).
- For the Peer selection field: create (or select if it already exists) a peer with a remote gateway that will be an object bearing the public IP address of remote firewall.
- Click on Finish.
NOTES
For more details on creating peers that use pre-shared key or certificate-based authentication, refer to IPsec VPN - Authentication by pre-shared key and IPsec VPN - Authentication by certificate.
The version of the IKE protocol for this peer must be the same as:
- The version used on the remote firewall,
- The version on peers used in the other rules of the IPsec policy in question.
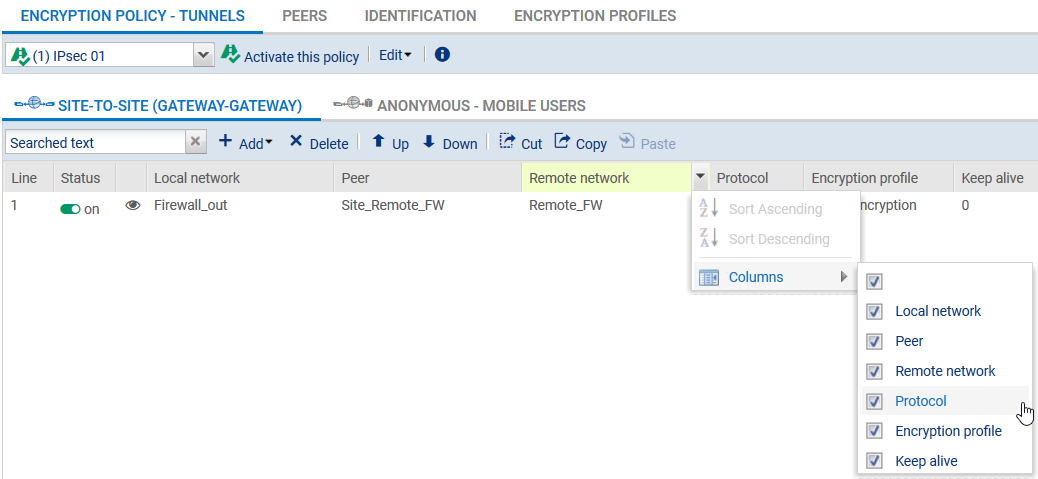
- To prevent IPsec tunnels from being set up for protocols other than GRE, and to prevent the encryption of traffic such as ICMP (pings), we recommend that you specify the GRE protocol in the Protocol column.
If this column does not appear, scroll over the title of any column and expand the right-click menu by clicking on the arrow. Click on Columns then select the Protocols checkbox.
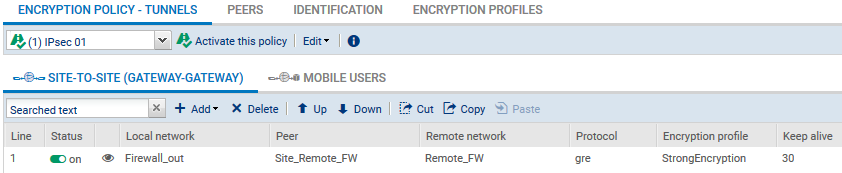
- To allow the tunnel to set up without initial traffic and to stay up even when traffic is disrupted for a short period, click in the Keepalive column and select a duration (30 seconds in the example).
The IPsec VPN policy will then look like this:
NOTE
Since the firewall started sending GRE network packets, filter rules therefore do not need to be created for this protocol.