Connecting the firewall to the Internet
Physically connecting the firewall to the Internet access device
Use an Ethernet cable to link your firewall’s “External” (OUT) port to your Internet access device.
Configuring the default gateway
Once the default gateway is configured, the firewall will know where to send packets that must leave for the public network (Internet).
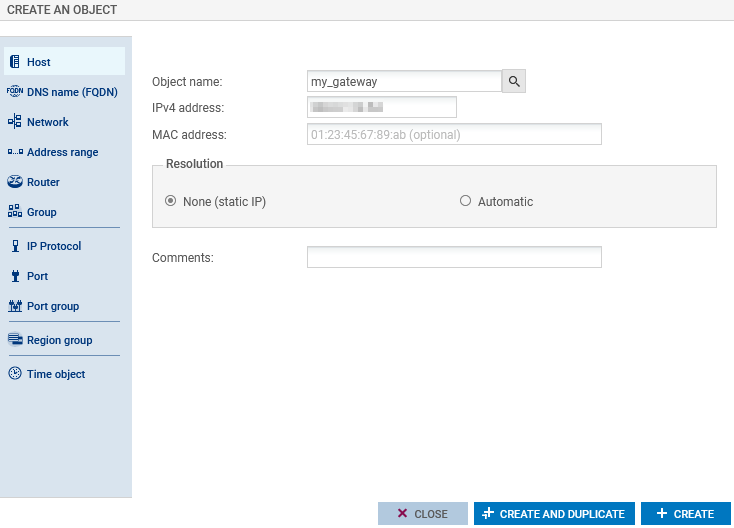
Creating a network object that represents the default gateway
NOTE
If the out interface on your firewall retrieves an IP address from a DHCP server, once it obtains a DHCP lease, the network object Firewall_out_router will be automatically created. If this is how your firewall was configured (different from our example), continue to the next section Setting the default gateway without creating a new object.
- Go to Configuration > Objects > Network.
- Click on Add and ensure that you are in the Host tab.
- Give the object a name (my_gateway in our example).
- Enter the IPv4 address of the default gateway and set its DNS resolution parameters (None (static IP) in our example). The MAC address is not required.
- Click on Create to confirm.
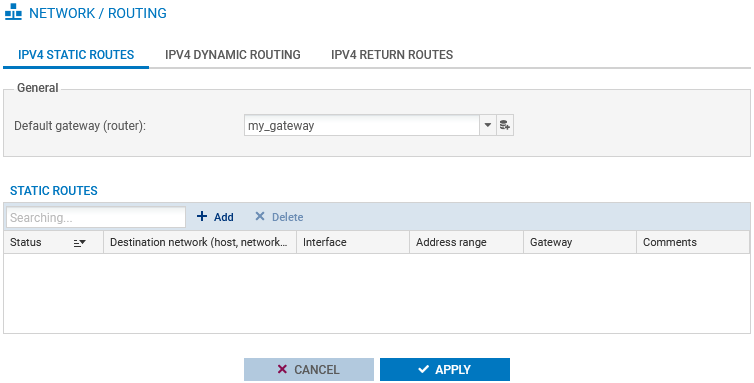
Setting the default gateway
- Go to Configuration > Network > Routing.
- In the IPv6 static routes tab, under General configuration, select the object that represents the default gateway (my_gateway in our example).
- Click on Apply.
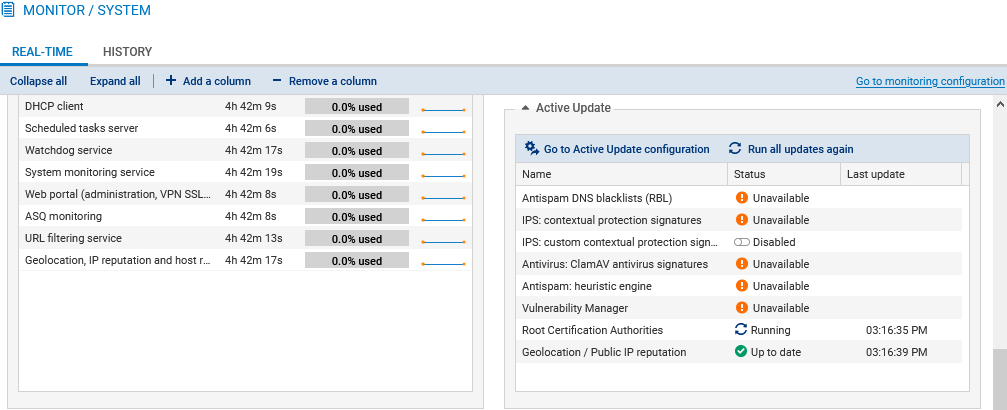
Updating the modules on the firewall
Now that you have an Internet connection, ensure that the modules on the firewall are up to date.
-
With the Active Update module, the various modules on the firewall can be automatically updated whenever the firewall is connected to the Internet.
-
You can manually launch these updates or track them in Monitoring > Monitoring > System, in the Active Update section.