Configuring the main site
On the main site you will have to:
The creation of this site-to-site IPsec VPN connection requires at least five network objects:
- the local network of the main site: Private_Net_Main_Site,
- the public address of the main Firewall: Pub_Main_FW,
- the local network of the remote site: Private_Net_Remote_Site,
- the public address of the remote Firewall: Pub_Remote_FW,
- the intranet server to contact on the main site: Intranet_Server.
These objects can be defined in the menu: Configuration > Objects > Network objects.
- Click on Configuration > VPN > IPsec VPN.
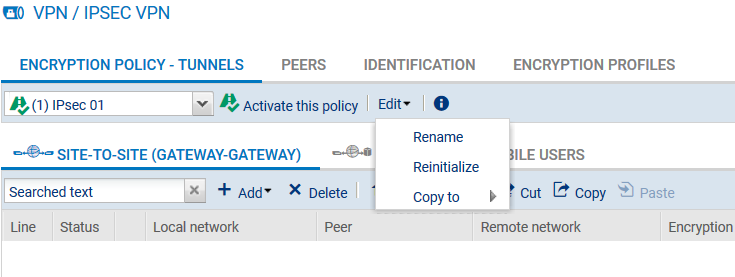
- Select the encryption policy you wish to configure.
You can rename it by clicking on Edit.

- Click on Add > Site-to-site tunnel. A wizard will automatically launch.
- In the Local network field, select your object Private_Net_Main_Site.
- In the Remote network field, select the object Private_Net_Remote_Site.

- Next, select a peer.
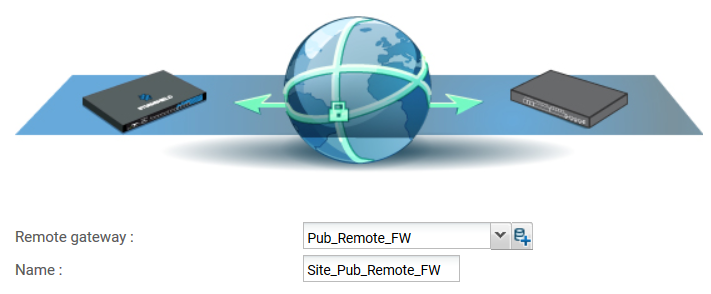
If the peer you wish to use does not yet exist, as in this example, you can create it by clicking on the hyperlink Create a peer (this step corresponds to the parameters that can be defined directly in the Peer tab in the menu Configuration > VPN > IPsec VPN). - The wizard will then ask you to select the remote gateway: in this current case, this is the public address of the remote Firewall (object Pub_Remote_FW). By default, the name of the peer will be created by adding a prefix “Site_” to this object name; this name can be customized:

- Next, select the authentication method: select the method “Pre-shared key (PSK)”.
-
In the fields Pre-shared key (ASCII) and Confirm, enter a complex password that will be exchanged between both sites in order to set up the IPsec tunnel, and then confirm.
To define a pre-shared key that is sufficiently secure:
- Keep to a minimum length of 8 characters,
- Use uppercase and lowercase letters, numbers and special characters,
- Do not use a word found in a dictionary for your password.
- The wizard will then show a summary of the peer that you have just created.
- Click on Finish to close this window.
- Click again on Finish to close the wizard. The IPsec tunnel is now defined on the main site and the tunnel will automatically be enabled (Status “on”).
- Click on Enable this policy.

The VPN tunnel is meant to interlink two remote sites securely, but its purpose is not to filtering traffic between these two entities. Filter rules therefore need to be set up in order to:
- Authorize only necessary traffic between identified source and destination hosts,
- Optimize performance (host resources, internet access bandwidth) by preventing unnecessary packets from setting up a tunnel.
- In the menu Configuration > Security policy > Filtering and NAT, select your filtering policy.
- In the Filtering tab, click on the menu New rule > Standard rule.
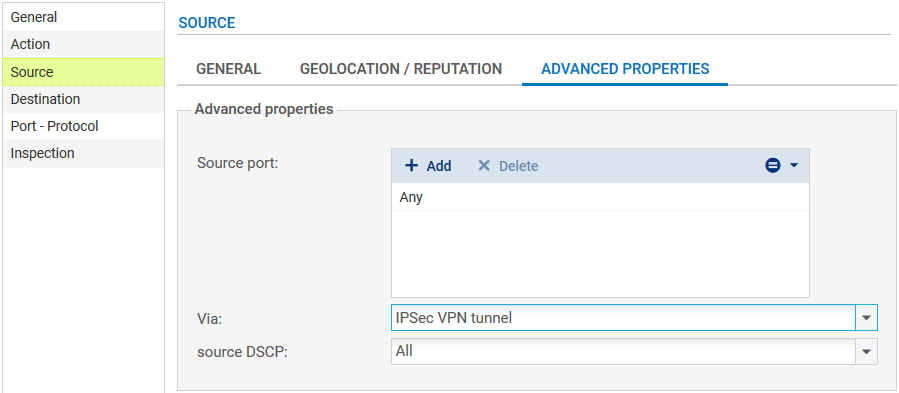
For better security, you can create a more restrictive rule on the Firewall that hosts the intranet server by specifying the source of the packets. To do so, when selecting the traffic source, indicate the value “IPsec VPN tunnel” in the field Via (Advanced properties tab):

In the case presented, a client workstation located on the local network of the remote site must be able to connect in HTTP to the intranet server located on the local network of the main site (rule no. 1). You can also temporarily add, for example, ICMP to test the setup of the tunnel more easily (rule no. 2). The filtering rule will look like this:

NOTE
The advanced features on Firewalls (use of proxies, security inspection profiles, etc) can be implemented in these filtering rules.