Creating a secure volume
The Stormshield Data Virtual Disk feature makes it possible to create secure virtual volumes. All of the files on these volumes will be stored securely.
An encrypted volume can be used the same way as a normal hard disk drive. You can copy files on it and start applications that use these files. You can also install software on an encrypted volume.
Similarly to a physical disk volume, a virtual disk volume can be damaged or destroyed, leading to the loss of data contained in it. You must keep a backup copy of the files stored on the virtual volume, or the file hosting the content of the virtual volume. You should take the same precautions with this virtual volume as you would for a normal physical volume (formatting, error checking, fragmentation, and backup management).
To create a secure volume:
- In the Windows search bar, look for Stormshield Data Virtual Disk.
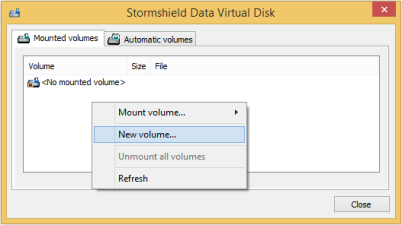
- From the Stormshield Data Virtual Disk control panel, select the Mounted volumes tab.
- In the Mounted Volumes window, right-click and select New Volume.
- Following an introduction dialog box, the path and size selection window is displayed:

Specify the volume name and its location in the File field. The .vbox extension is automatically added to the volume name.
IMPORTANT
If an encrypted volume is locally mounted in a Windows session, all users allowed to open a local session on the workstation will be able to access the content of the encrypted volume. For further information, refer to the section Configuring and using the agent's advanced features in the SDS Enterprise administration guide.Specify the volume size in the Size field. You can define the volume size between 1 MB and the maximum available size. The default volume size is 10% of the available space on the drive unit.
IMPORTANT
The maximum size of a Stormshield Data Virtual Disk volume is 2048 GB (2 TB).
- Click on Next.
- You may want to authorize other users to use the new volume separately. Enter their name in the search field. The search displays users or groups specified in the trusted address book as well as users from the LDAP directory if it is configured. It displays the users or group members whose certificate is valid or revoked (the revocation status is checked in the background).
- Groups coming from the local directory have a green icon,
- Groups from the LDAP directory have a yellow icon,
- Pressing the Enter key in the search field directly launches a search in the LDAP directory.
NOTE
Simultaneous use of the volume by different users is not possible. Each allowed user accesses the volume alternately.When the users list is completed, click Next.
- The options selection window appears:
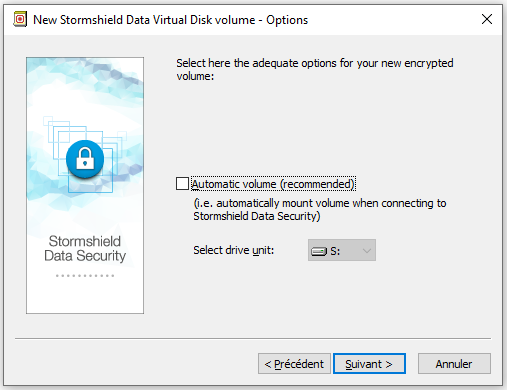
In the dialog box displayed above you must:
- indicate if you wish the volume to be mounted automatically each time you connect to SDS Enterprise,
- select the drive unit mount letter to be used and indicate if the volume must be automatically mounted each time you connect to SDS Enterprise. The drive letter must not be used by another network drive or USB drive.
- Click on Next to see a summary screen:
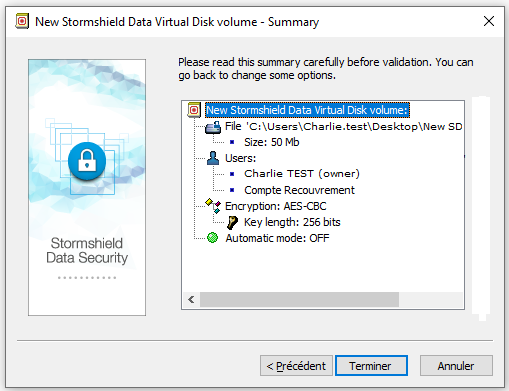
By default, the encryption algorithm and key strength used to encrypt your secured volume are AES-CBC and 256 bits. You can modify these values in the JSON policy configuration file. For more information, refer to - Click on Finish.
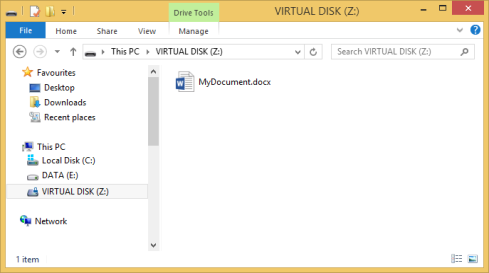
The volume now appears in the Windows Explorer. All files placed on this volume are encrypted and only authorized users will be able to access the encrypted volume's content.
NOTE
The .vboxsave backup file is created in the same folder as the .vbox container file.